SI Floor Expo Crete PRO: The Flooring System Built for Pools, Decks, and Wet Spaces — Explained Simply
Most flooring systems hate water. SI Floor Expo Crete PRO was engineered specifically for it. From inside a swimming pool to an outdoor terrace under the Dubai sun — here is everything you need to know, in plain English.
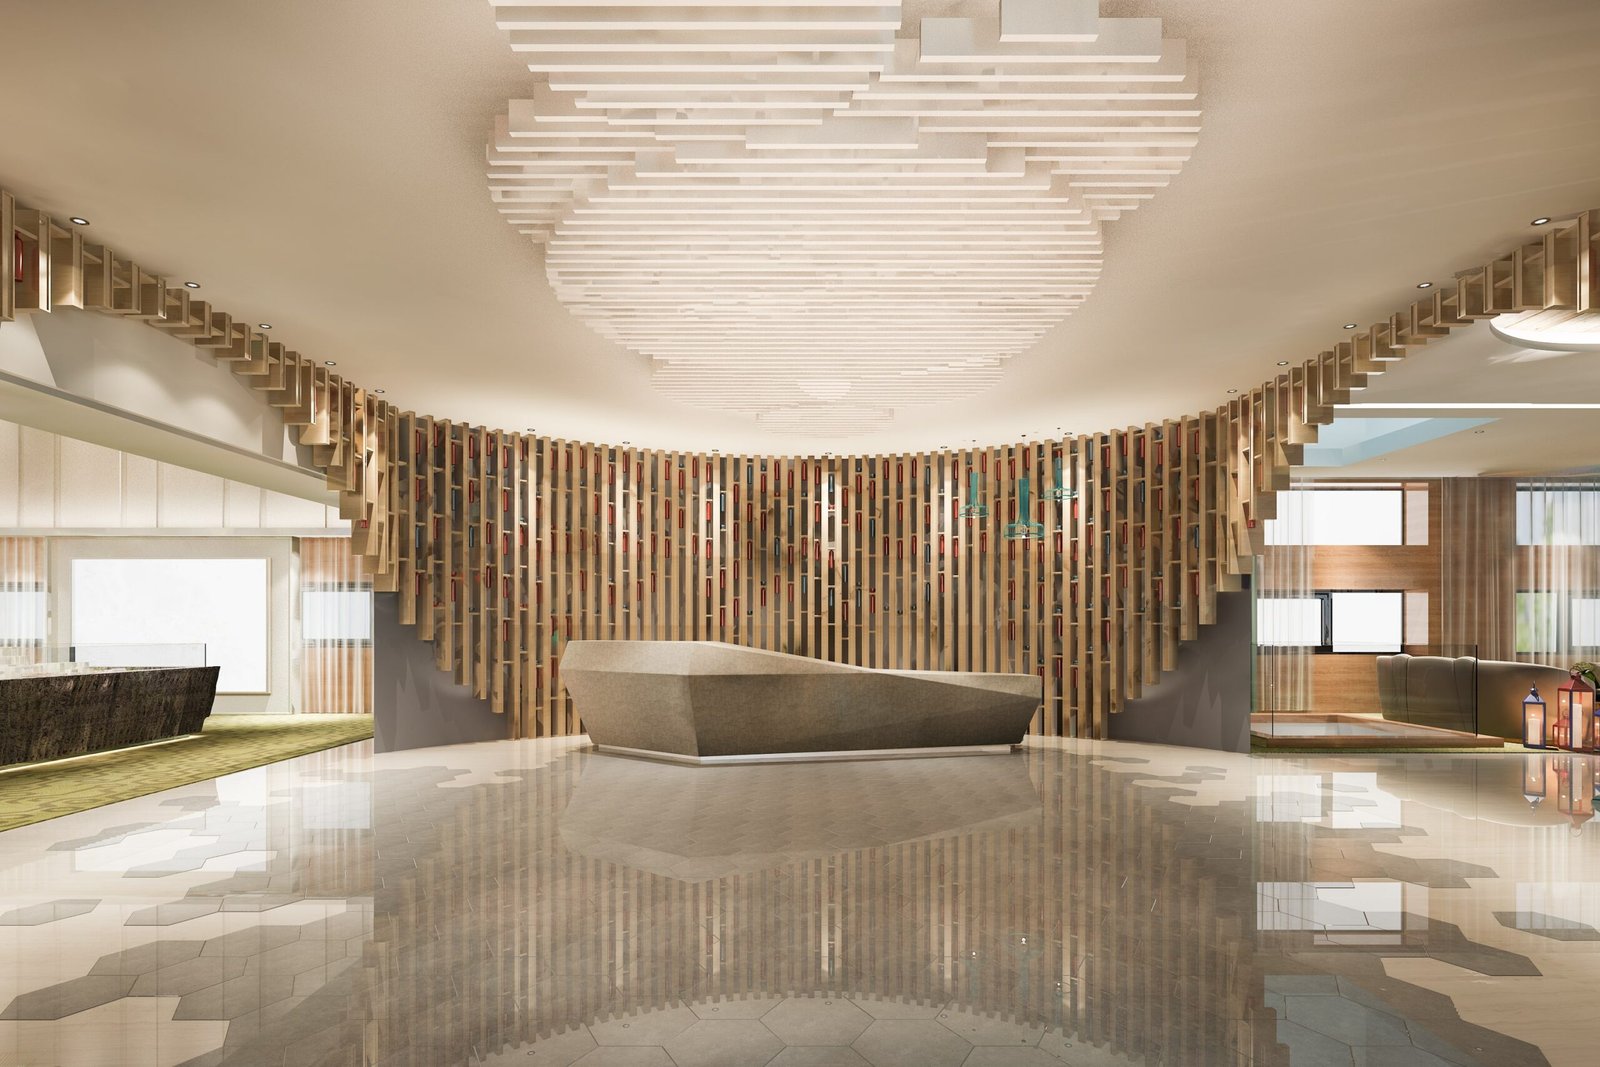
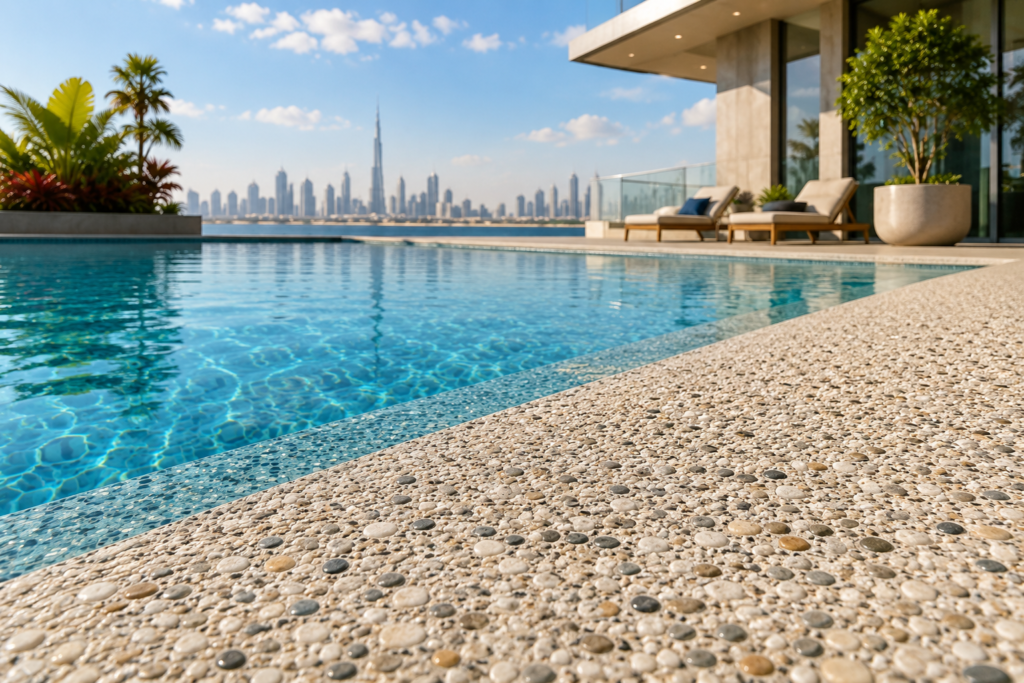
When you think of decorative flooring systems, you might picture sleek indoor office lobbies or polished hotel corridors. But what about a submerged swimming pool floor? A pool deck baking in the UAE heat? A bathroom, a terrace, an outdoor plaza? These are the environments that most standard flooring systems struggle with — and exactly where SI Floor Expo Crete PRO was designed to thrive.
What makes it different from a regular cement screed is the PRO Liquid Polymer Modifier — a special liquid that completely replaces water during mixing. This one ingredient transforms the cement into a tougher, more flexible, far more water-resistant material. The result is a floor that can sit permanently underwater, bridge hairline cracks without failing, and still deliver a beautiful decorative finish — whether that is a natural exposed-aggregate texture or a polished terrazzo-like shine.
Where Can It Be Used?
SI Floor Expo Crete PRO is one of the most versatile flooring systems in the SI Floor range. Here are the applications it is specifically engineered and tested for:
(over approved waterproofing)
SI Floor Expo Crete PRO is a decorative finish system — not a structural or waterproofing membrane. When used inside swimming pools or water features, it must always be applied over an approved waterproofing system. It provides the beautiful finish layer on top; the waterproofing layer beneath keeps the water where it belongs.
What Makes Expo Crete PRO Different — The Key Advantages
The polymer modifier at the heart of this system does more than just replace water. It fundamentally changes how the cured material behaves. Here is what that means in practice:
Product Properties and Pack Sizes
| Property | Performance |
|---|---|
| Compressive Strength (after 24 hours) | Greater than 12.2 MPa — walkable the next day |
| Compressive Strength (after 28 days) | Greater than 38.2 MPa — comparable to structural concrete |
| Tensile Strength | Greater than 2.8 MPa |
| 24-Hour Flexural Strength | Greater than 3.8 MPa |
| 28-Day Flexural Strength | Greater than 10.6 MPa — excellent long-term flexibility |
| Pot Life | 30–45 minutes once mixed — batches must be planned efficiently |
| Shock Resistance | Pass |
| Application Thickness | 3mm to 12mm per layer |
| Theoretical Coverage | Approx. 1 m² per 25 kg at 10mm thickness (excluding aggregates) |
| Shelf Life | 12 months from manufacture, stored below 35°C |
| Storage | Dry, covered area — away from moisture and direct sunlight |
All values based on SI Floor Expo Crete PRO Technical Data Sheet, Edition SA/FS-03-00, 17.01.2026.
The system comes in three components:
The 7 Stages of Installation — At a Glance
Stage 1 — Get the Right Team
SI Floor Expo Crete PRO has a pot life of only 30–45 minutes. That means from the moment Component A and Component B are combined, the clock is running. Every member of the installation team needs to know exactly what they are doing before a single batch is mixed. An inexperienced crew risks material setting before it is properly spread, creating cold joints, surface defects, or inconsistent thickness — all of which compromise both the appearance and the performance of the floor.
This is especially important on pool and wet-area applications, where a floor that fails is not just an aesthetic problem — it can lead to water damage, costly repairs, and the need to empty and reline a pool.
For pool and wet-area projects, always ask to see reference installations that have been in service — particularly any that have been submerged. Ask how long the floor has been in use and whether any repairs have been needed. A good installer will be happy to provide this information.
Stage 2 — Tools and Equipment Needed
The Expo Crete PRO system uses a slightly different equipment set compared to the terrazzo systems — particularly the slow-speed mixer for blending the polymer modifier with the binder. Everything must be ready before mixing begins:
- Floor grinder or shot blaster — for surface preparation
- Industrial vacuum cleaner — used throughout to keep surfaces clean
- Slow-speed mixer (300–500 rpm) — critical for mixing Component A with Component B correctly
- Pan mixer — for incorporating binder, PRO modifier, and decorative aggregates
- Steel and notched trowels — for spreading the mixed material to the correct thickness
- Screed box — for achieving consistent layer depth across larger areas
- Portable hand grinder — for edges and detailed areas
- Antique brushes — used to expose aggregate after curing
- Floor grinding and polishing machine — for the polished terrazzo-like finish option
- Mixing containers — for combining and transferring materials
- Full PPE — gloves, goggles, and protective clothing throughout
Stage 3 — Preparing the Base
As with every SI Floor system, the quality of the finished surface is only as good as the preparation beneath it. The substrate must be structurally sound, completely clean, and fully dry before any primer is applied.
New Concrete
New concrete must be at least 28 days old before any work begins. The surface is mechanically prepared by grinding or shot blasting to remove curing compounds, laitance, and surface contamination. The floor is vacuumed clean. Any cracks, honeycombs, or surface defects must be repaired using approved repair materials before priming — this is non-negotiable, especially in wet-area and pool applications where any weak point in the base can become a water ingress path.
Existing Concrete
Old concrete surfaces are mechanically prepared by grinding or shot blasting to remove all dust, coatings, oil, grease, and contaminants. Chemical degreasers tackle oil and grease residues. Surface defects are repaired before the primer goes on, and the substrate must be completely dry before proceeding.
In UAE pool and wet-area projects, residual moisture in the substrate slab is one of the most common causes of delamination. Concrete in pool surrounds and submerged structures often carries higher moisture levels than indoor slabs. Always verify dryness with a moisture meter — never assume the surface is ready based on visual inspection alone.
Stage 4 — The Two-Stage Priming System
The priming process for SI Floor Expo Crete PRO is more involved than a single-coat primer — and for good reason. This system is often installed in wet areas, pools, and outdoor environments where bond failure would have serious consequences. The two-coat primer system with embedded fibre mesh delivers a far more robust foundation.
Here is the full six-step priming sequence:
The PP Fibre Mesh embedded between the two primer coats acts like reinforcement in concrete. It distributes stress across the bonded area, reducing the risk of the finish layer cracking or peeling if the substrate moves slightly — especially important in outdoor and pool environments subject to thermal expansion and contraction.
Stage 5 — Mixing and Applying the Screed
The key difference in Expo Crete PRO mixing is that Component B (the PRO Modifier) fully replaces water — you do not add water to the mix unless workability needs a slight adjustment, in which case up to 5–10% potable water by weight of the modifier can be added.
Mixing Sequence
Using a slow-speed mixer (300–500 rpm), combine Component A (the binder) with Component B (the PRO Modifier) and mix until a consistent, uniform blend is achieved. Decorative aggregates (Component C) are loaded into a pan mixer first and pre-mixed briefly before the A+B blend is incorporated. Continue mixing until the full batch is smooth, homogeneous, and completely free of lumps.
Once A and B are combined, the pot life clock starts. Plan your batch sizes based on the area you can comfortably spread and finish within 30–40 minutes. Never mix more material than your team can apply before it stiffens — and never try to re-work material that has already begun to set.
Application
The mixed material is applied using steel or notched trowels to a thickness of 3–12mm per layer depending on the project requirement. Keep application continuous across each section — stopping mid-pour and resuming later creates a cold joint, a visible line in the finished surface where two pours meet. Avoid working in direct sunlight, strong winds, or extreme temperatures, all of which accelerate surface drying.
In the UAE, summer temperatures can make outdoor application extremely challenging. The combination of heat, low humidity, and direct sun dramatically reduces workable time. Schedule outdoor pours for early morning or evening, and always shade the working area where possible. In extreme conditions, consult the SI Floor team about adjusting the mix for local conditions.
Stage 6 — Two Beautiful Finish Options
One of the most compelling things about SI Floor Expo Crete PRO is that a single system delivers two completely different aesthetic outcomes — chosen based on the project’s design intent.
The exposed aggregate finish offers a naturally textured, anti-slip surface — better for pool decks, external walkways, and areas that are regularly wet underfoot. The polished finish is smoother and more refined — better for covered interiors, wet rooms, and spaces where a high-end decorative look is the priority. Your SI Floor consultant can help you choose the right finish for your specific project conditions.
Stage 7 — Curing and Protection
Once the screed is applied and the finish is complete, the floor needs time to cure properly. This stage is as important as any other — a floor that dries too quickly, gets contaminated, or is trafficked too soon can develop surface defects that are difficult to correct after the fact.
Protect the applied surface from rapid moisture loss, direct sunlight, wind, and any mechanical damage immediately after installation. In hot, dry UAE conditions — particularly outdoors — this may mean covering the surface with a curing membrane or damp hessian to slow the drying rate. Light foot traffic is permitted after 24 hours. Full cure, and the timing for subsequent coats or heavier use, is dependent on site conditions and ambient temperature — always follow the SI Floor team’s guidance for your specific project environment.
Safety on Site
SI Floor Expo Crete PRO is a polymer-modified cementitious product and should be handled with appropriate care throughout installation:
Avoid contact with eyes and skin at all times during mixing, application, and finishing.
Always wear appropriate PPE — gloves, goggles, and protective clothing throughout the installation process.
If the product contacts your eyes, rinse immediately with clean water and seek medical advice without delay.
If the product contacts your skin, wash thoroughly with soap and water.
Refer to the full Material Safety Data Sheet (MSDS) for all components before commencing work.
Planning a Pool, Deck, or Wet-Area Flooring Project?
SI Floor Expo Crete PRO is available through Speciality Industries L.L.C. in Dubai. Our team can advise on mix designs, aggregate selection, finish options, and coverage quantities for your project — whether it is a private pool or a large public plaza.
Call Us: +971 4 880 2928P.O. Box 282186, Dubai, United Arab Emirates | info@simllc.ae | www.specialityllc.com
Content based on SI Floor Expo Crete PRO Method Statement and Technical Data Sheet, Edition SA/FS-03-00, 17.01.2026.